Showing posts with label card. Show all posts

Friday, January 1, 2010

Thankful thoughts...


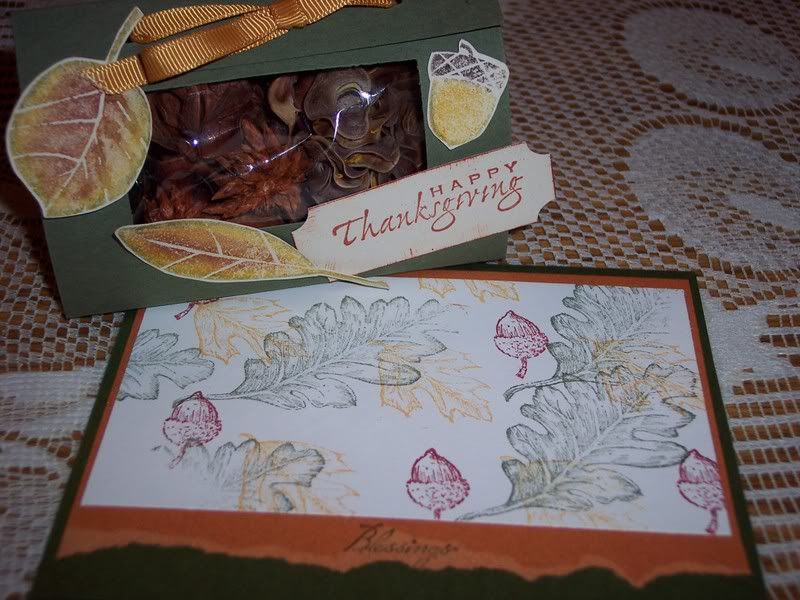
Here are some thank-you cards I made after my big surprise birthday party. Just some cardstock from my DCWV stack, thankful thoughts stamp is SU, thank you stamp is heidi grace, Creative Memories Harvest stickers, and ribbon.


Monday, June 29, 2009

Coffe Card Swap...


I participated in a swap on a stamping message board that I frequent.
It was my first time swapping here, but I might do it again sometime.
This is what I came up with!

I made a card with Stampin' Up! set called Sip by Sip and used their Top Note die....'course I borrowed the Top Note die, but it is on my wish list. I used it with my Cuttlebug!
I also filled a clear pillow envelope (bought on ebay) with coffee, espresso, and latte candies. The tag was made using a set from Hero Arts that is coffee themed.

Close up...

Pop dots under the Top Note die.

Packaged and ready to go in the mail.
The bigger pillow box set is for the hostess.
It was fun!
Have you done any fun swaps lately?

Sunday, May 24, 2009

If you know me at all...


Some super easy photo or gift card holders I made with large binder clips and a quick graduation card I made using the Tassel Time set from SU.

...you know I love all things hand-made. Well, just about all things... Anyway, here are some awesome etsy giveaways here at PaperCakes!! Go check them out!

Speaking of etsy...I will be getting some new and fun stuff in there really soon! It will be a mix of all sorts of things, but be ready!! =]

Have a great new week and in the mean time, think on this:

Ecclesiastes 3:11~~"He hath made every thing beautiful in his time: also he hath set the world in their heart, so that no man can find out the work that God maketh from the beginning to the end."

Monday, April 27, 2009

Happiness Always...


Just a quick set of cards I made for someone. A set of 4 each.
I really enjoyed coloring each image with the chalks. Very soothing.
It was pretty late when I completed this set. I would've liked to put
more detail in the apples, but I was working against a deadline. =]
Stamps and medium:
Stampin Up Warm Words, Give Thanks and Chalks

Sunday, April 19, 2009

Wonderful Happiness!


I had a chance to make some cards the other night.


My friend Desiree did thank you cards like this.
I basically just copied hers, but changed the words. =]


Easy, quick and cute.


Materials: My Mind's Eye, DCWV Cardstock Stack Brights, Stampin' Up Warm Words, CTMH Black Ink, Martha Stewart Balloon punch, Glittered Cardstock (manuf. unknown)


Sunday, March 29, 2009

How Sweet It Is...


I spent the weekend with 21 awesome ladies at a scrapbooking retreat. I had a great time making new friends and seeing some that I got to know last October at the Northern California retreat. It felt so good to get away and have some down time.
I knew my family was supportive of my get-away time and it was confirmed when I came home to a perfectly clean house. They had the candles lit and the house was smelling great! They wanted to know all about my weekend and kept leaning in for hugs as I told them what all went on.
Well, here's some of what I worked on. I didn't actually scrapbook because I didn't want to stress over organizing my photos and packing, etc. I just worked on some altering and I also made a bunch of cards. I helped out some of the ladies that were also altering for the first time.
Well, here we go!
I made (finished) a banner for my nephew.
Supplies:
Paper-DCWV Animal Crackers, Cricut-All Mixed Up, Mod Podge, Ribbon


I made a bunch of all occasion cards.
I just love the Cupcake set by Inkadinkado!
Supplies: Cupcake stamp set-Inkadinkado, Paper-Bazzil,
Ink-Stampin' Up, Stickles, Cat's Eye Fluid Chalk, buttons,
ribbon, eyelets

I used the Cuttlebug Swiss Dots embossing folder and the Swirl
embossing folder on the next two. The white core of the paper shows
through since I sanded it a bit.


I heat embossed the large cupcakes. I also used the blending pen with
the stamp pads and colored everything in like water color.


I got some foam flowers and buttons in my goody bag and thought I'd try them out.


Well, that's all for now. Come back later when I post some more.
These will probably go in my Etsy shop soon. Let me know if you have any
questions!
Oh! Have a sweet day!!

Sunday, March 1, 2009

The Creativity Project...

So, I saw this on Stacy Julian's blog and thought it would be a good idea to try to stay on top of it for the month of March. The coming of spring shouts newness to me, so I am going to try to do something new. Hopefully, this project will challenge me and make me more aware to consistently and curiously create.

Here was my little thing for today along with something I made a few weeks ago with my Sunday School girls for fun. Sunday's are pretty busy for me, but I usually have time to play a little at my craft table. This is something I made to go out with an etsy order that I'm filling. Just a simple card with a simple sentiment: dream.

This next picture is of a few painted rocks. I told my girls about choosing a word that would "lead" them and help them for 2009 - mine is FOCUS. They each chose a word and then we painted rocks and put our words on them. Great little project. I love Ladybugs, so I thought that the rock would make a cute ladybug and then the heart one is Love to the power of 6. Six in my immediate family. =]

I hope to get some real creating done this week. Not as easy as I thought it'd be with an 18 month old and a 3 year old to keep busy, but they let me play once in a while. =]

What are you creating? =]

Saturday, November 8, 2008

Fall themed pot pourri favor - Thanksgiving place card - Thanksgiving Greeting Card

Thank you card

Water color all occasion card

Altered paint bucket - Patriotic Americana theme - Easter basket


Altered paint buckets - Elmo, Cinderella, Pink, Blue, and Brown theme - Easter Baskets

Friday, November 7, 2008


Hand-made all occasion and friendship cards.


Altered CD's Wall Hanging. There is a verse typed on vellum on the bottom CD and the top CD has a space for you to add a picture.